
When I first stepped into the world of fermentation, sauerkraut was my humble beginning. It’s a dish that holds a special place in my kitchen, echoing the flavors of grandmother’s old-world recipes. With just a head of green cabbage and a sprinkle of salt, you can transform simple ingredients into a vibrant, tangy delight that not only enhances a meal but also offers a symphony of probiotics. Homemade sauerkraut is a staple that embodies the art of preserving summer’s bounty, and it’s a joy to make, especially as the days grow colder.
Why you’ll love this dish
Why venture into the realm of homemade sauerkraut? There are countless reasons, but let’s start with the most appealing: it’s remarkably simple and budget-friendly. For those of us navigating the hectic pace of life, this recipe offers a perfect blend of convenience and health benefits. Picture this—a homemade condiment bursting with flavor while also being rich in beneficial microbes for your gut health.
And don’t forget the hallmark of any great dish: versatility. Whether slathered on a Reuben sandwich, served alongside bratwurst, or simply enjoyed as a tangy side, this sauerkraut fits in effortlessly at any meal. Plus, there’s something profoundly satisfying about creating your own pantry staples. As one of my friends put it: “Nothing compares to the fresh, crunchy bite of homemade sauerkraut.”
The cooking process explained
Making your own sauerkraut is as rewarding as it is straightforward. You’ll only need to follow a few steps, but don’t let that simplicity fool you — the transformation that takes place over weeks is nothing short of magical. Here’s what you can expect from the process: you’ll start by shredding that crisp cabbage, then with a little massaging and pressing, you’ll coax out its moisture, letting the salt work its magic.
Once packed into a jar, patience becomes your greatest ally. Over the next week or two, you’ll watch as the flavors develop and the sourness deepens—an evolution best checked regularly, gauging just how tangy you prefer your creation.
What you’ll need
Gathering your ingredients is part of the fun, and luckily, this list is refreshingly short. Here’s what you’ll require:
- 1 medium green cabbage
- 1 tablespoon sea salt
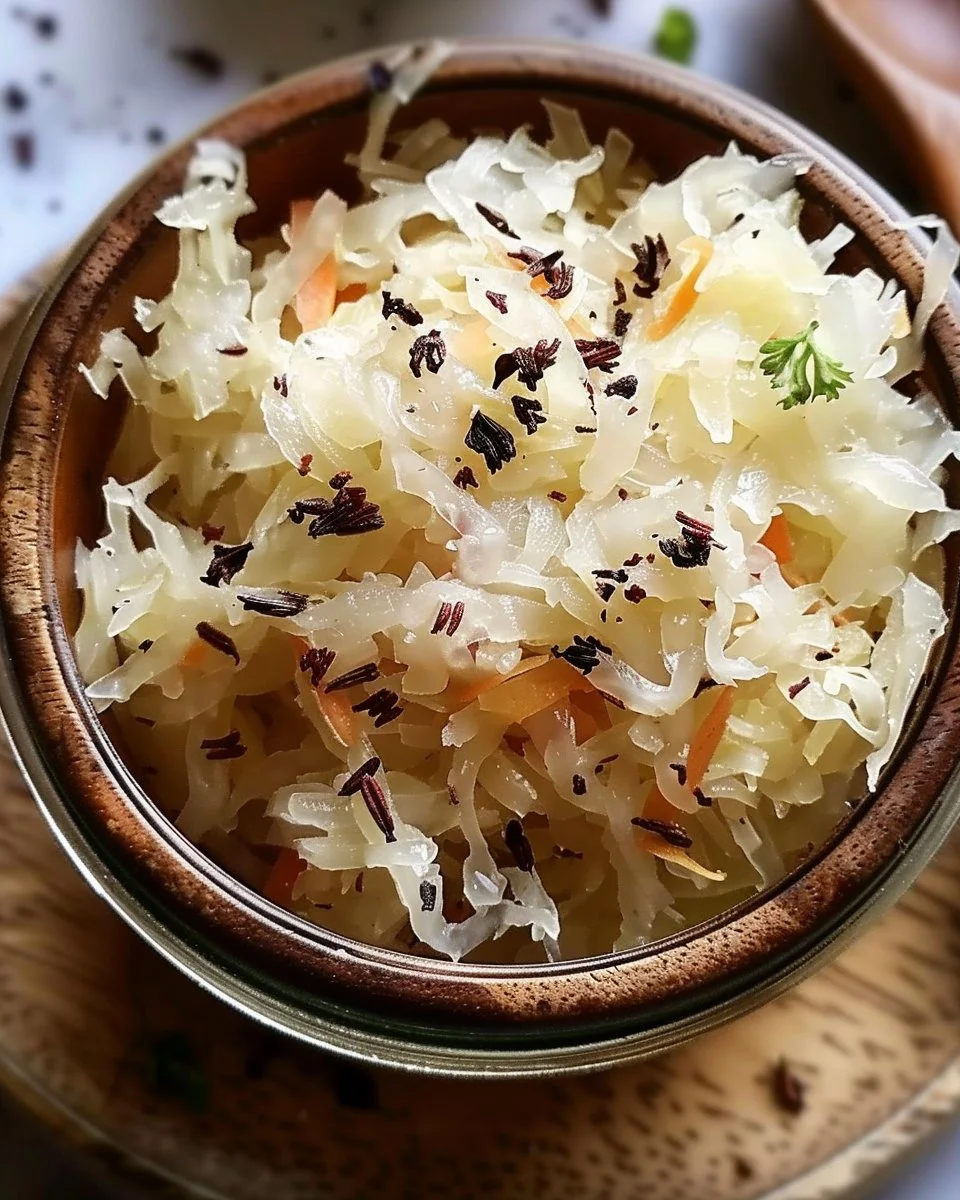
- 1 teaspoon toasted caraway seeds
- Optional: other seasonings (like garlic or pepper)
Consider exploring some variations too! Garlic can add a warm depth, while a sprinkle of crushed red pepper could kick it up a notch.
Directions to follow
Prepare your cabbage: Start by removing the outer leaves of the cabbage. Cut it into quarters and scoop out the core. Then, finely shred the cabbage into ribbons that are manageable yet substantial.
Massage it: In a large mixing bowl, toss that shredded cabbage with the sea salt. Spend 5-10 minutes gently massaging—this tenderizing process is vital as it helps release the cabbage’s natural juices.
Add the seeds: Once the cabbage is limp and fragrant, fold in the toasted caraway seeds, distributing them evenly across the mixture.
Pack it away: Next comes the packing. Gently stuff the cabbage into a clean glass jar, pressing it down firmly to remove any air pockets. The liquid should rise to cover the cabbage completely.
Leave some space: Remember to leave a little headspace at the top of the jar; as your kraut ferments, it will expand.
Cover the jar: With a clean cloth, cover the jar and secure it with a rubber band or string. This allows air to escape while keeping dust and insects at a bay.
Ferment: Set your jar in a warm spot (ideally between 60-75°F) and let it sit undisturbed for 1-4 weeks. Check on it regularly to see the transformation taking place.
Taste test: Once a week, sneak a taste to see how the flavors evolve. When it reaches your desired level of sourness, it’s time to pop it into the fridge to slow the fermentation.

Best ways to enjoy it
So, how do you relish this homemade treasure? One of my favorite ways is to pile it high on a slice of crusty bread, topped with creamy avocado and a sprinkle of smoked salt. It’s a flavor explosion that brings together crunch, creaminess, and a delightful zing!
Consider serving it alongside roasted meats, mixing it into salads for an unexpected twist, or simply enjoying it straight from the jar as a snack. Pairing with a hearty beer or a crisp white wine can elevate the experience even further.
Keeping leftovers fresh
As is often the case with homemade goodness, you’ll want to store your leftover sauerkraut properly. After it’s been refrigerated, it should be good for several months. Just ensure it remains fully submerged in its brine. If you notice any scum forming, don’t fret—simply skim it off and enjoy the flavors below.
To freeze, pack it into airtight containers, leaving some room for expansion, though I assure you it won’t last long in your fridge!
Helpful cooking tips
Use high-quality salt: It can make a difference. A good sea salt not only enhances flavor but plays a crucial role in the fermentation process.
Keep it cool: Aim for a slightly cooler room if you prefer a slower fermentation. A longer wait will yield more complex flavors.
Experiment with flavors: Aside from caraway, consider adding juniper berries, dill, or even a little ginger for a twist.
Creative twists
Once you’ve mastered the classic version, try your hand at variations. You could infuse flavors by adding shredded carrots for sweetness or introduce beets for color and an earthier taste. Going a different route entirely? Try including a touch of chili flakes for heat or even apple slices for a hint of sweetness—the possibilities are delightful!
Your questions answered
How long does it take to ferment?
Typically, fermentation takes between 1 to 4 weeks, depending on the temperature and how tangy you prefer your sauerkraut.
Can I use other types of cabbage?
Absolutely! Though green cabbage is traditional, red cabbage adds a beautiful color and unique flavor.
What’s the best way to serve sauerkraut?
From topping meats to mixing into salads or even enjoying straight from the jar, it’s incredibly versatile. Pair it with your favorite comfort foods for a delightful zest!
Homemade sauerkraut is a labor of love that yields both flavor and health benefits. Trust me, once you’ve tasted your own creation, you’ll never look at store-bought the same way again. So roll up your sleeves and embrace the enchantment of fermentation!

Sauerkraut
Ingredients
Method
- Remove the outer leaves from the cabbage and cut it into quarters. Scoop out the core and finely shred the cabbage.
- In a large mixing bowl, toss the shredded cabbage with the sea salt and massage for 5-10 minutes to release the natural juices.
- Once the cabbage is limp, fold in the toasted caraway seeds.
- Pack the cabbage mixture into a clean glass jar, pressing down firmly to eliminate air pockets.
- Leave some headspace at the top of the jar for fermentation expansion.
- Cover the jar with a clean cloth secured with a rubber band or string to allow air escape.
- Place the jar in a warm spot, ideally between 60-75°F, and let it ferment undisturbed for 1-4 weeks.
- Check weekly for flavor development. Once it reaches your preferred sourness, transfer it to the fridge to slow fermentation.


