
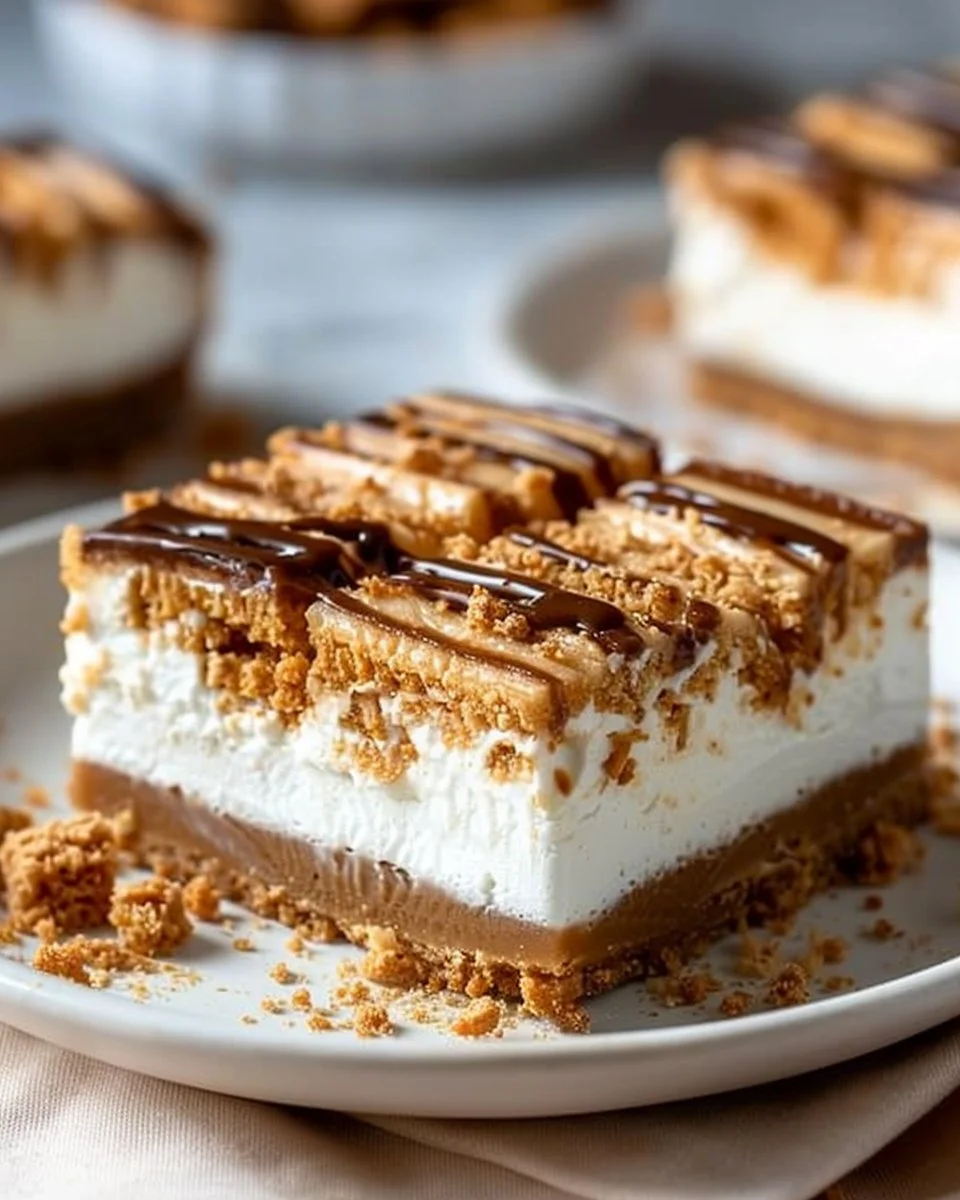
There’s something about no-bake desserts that makes them feel like a little miracle in the kitchen. You mix, layer, and chill, and voilà! You have a delightful treat without ever turning on the oven. No-Bake Biscoff Cheesecake Bars are one of those recipes that are as impressive as they are simple. Bursting with the rich flavors of Biscoff cookies and creamy cheesecake, these bars are perfect for gatherings, potlucks, or just a sweet indulgence on a quiet evening at home.
Why You’ll Love This Dish
What makes this dessert stand out is its effortless charm and delightful flavor combination. First off, it comes together in such a short amount of time that you can whip it up on a whim, making it ideal for planned events or last-minute guests. The blend of the buttery cookie crust with the velvety cheesecake filling is a match made in heaven; each bite transports you to a land of sweet euphoria. Plus, there’s no need for baking, which means fewer kitchen messes and less stress.
"I made these bars for my sister’s birthday, and they were gone in seconds! Everyone kept asking for the recipe. They’re creamy, dreamy, and absolutely addictive."
Step-by-Step Overview
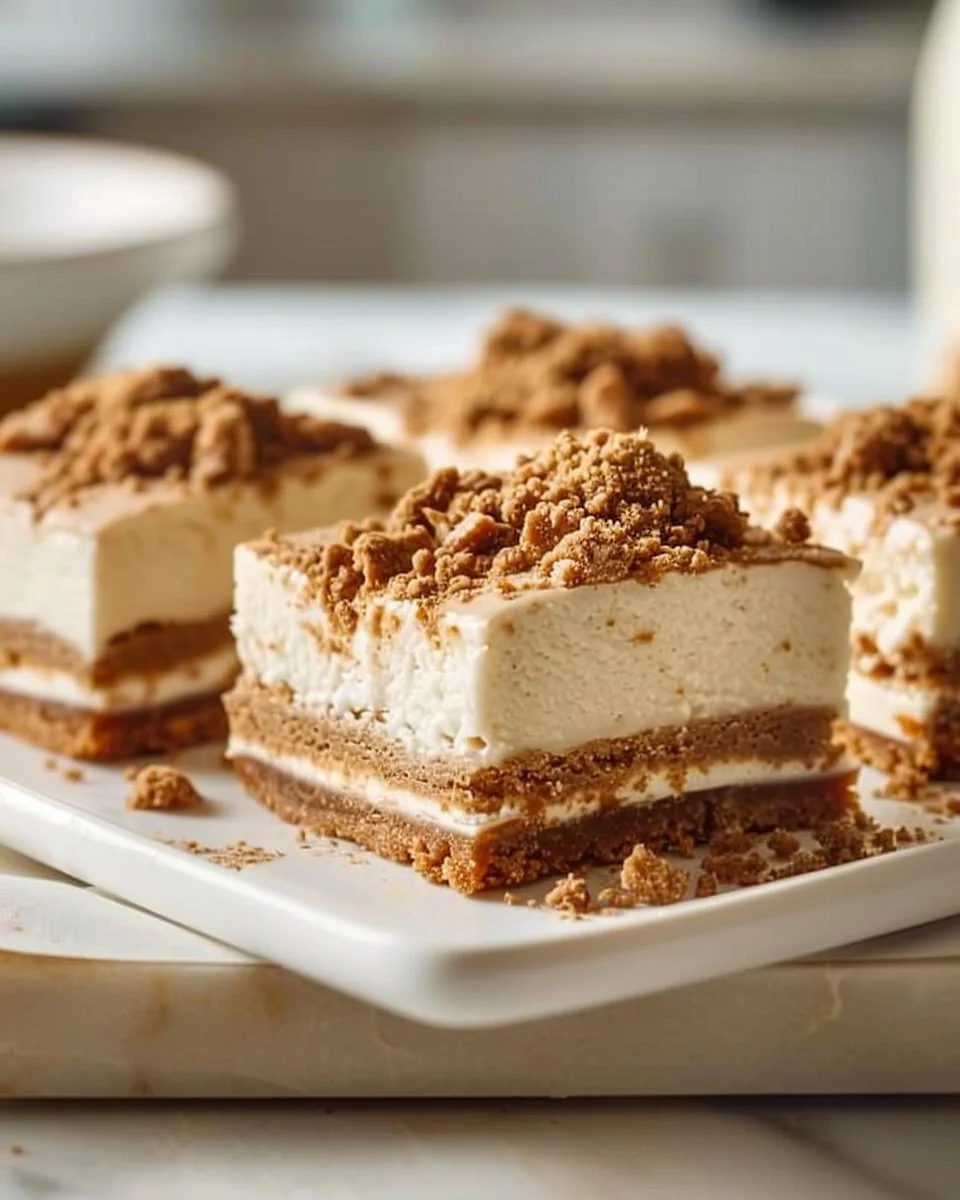
Let’s break down how these delightful bars come together. You’ll start by creating a simple crust with crushed Biscoff cookies and melted butter. After that, a luxurious cheesecake filling is made with cream cheese and whipped heavy cream. Finally, you’ll layer it up, chill it down, and serve! Simple, right?
What You’ll Need
Gather these items to create your No-Bake Biscoff Cheesecake Bars:
- 200g Biscoff cookies (for the crust)
- 100g unsalted butter (melted)
- 250g cream cheese (softened)
- 100g powdered sugar
- 200ml heavy cream
- Biscoff spread (for drizzling on top)
If you’re looking for substitutes, you could try using graham crackers for a different crust flavor or swap out the heavy cream with coconut cream for a dairy-free version.
Directions to Follow
- Start by crushing the Biscoff cookies in a food processor until you achieve fine crumbs.
- Combine the crushed cookies with melted butter until they are well blended.
- Press this mixture firmly into the bottom of a lined baking dish to form the crust.
- In a mixing bowl, beat the softened cream cheese and powdered sugar until creamy and smooth.
- In another bowl, whip the heavy cream until stiff peaks form. Gently fold this whipped cream into the cream cheese mixture until fully incorporated.
- Spread the cream cheese filling over the crust evenly, making sure to reach the corners.
- Drizzle Biscoff spread generously on top, creating beautiful swirls if you’re feeling artistic.
- Refrigerate for at least 4 hours, or until the bars are set nicely.
- Cut into squares or bars and serve chilled. Enjoy!
Best Ways to Enjoy It
These cheesecake bars are delicious on their own, but if you want to elevate your presentation, here are a few ideas. Serve them on a rustic wooden board garnished with fresh berries or a dusting of cocoa powder. A scoop of vanilla ice cream beside each bar can add a creamy element that complements the rich flavors perfectly.
How to Store & Freeze
To keep your No-Bake Biscoff Cheesecake Bars fresh, store them in an airtight container in the refrigerator. They’ll stay delightful for about 4-5 days. Planning to make them ahead for a party? Feel free to freeze them, too! Just wrap individual bars tightly in plastic wrap, and then foil, and they’ll last in the freezer for up to a month. Thaw them overnight in the fridge when you’re ready to indulge.
Practical Cooking Tips
- Make sure your cream cheese is softened properly before mixing; this ensures a smoother filling. Leave it out for about an hour before you begin.
- If you want to fancy up the drizzle, you can slightly warm the Biscoff spread, making it easier to drizzle.
- For a little extra flair, sprinkle some crushed Biscoff cookies on top before serving.
Creative Twists
There are plenty of ways to put your own spin on these cheesecake bars. Want a nutty flavor? Mix in some chopped hazelnuts or almonds to the crust for added texture. You could also layer in some caramel sauce for a salted caramel twist, or use a different flavored spread, like Nutella, to appeal to chocolate lovers.
Your Questions Answered
Q: How long does it take to make these cheesecake bars?
A: The preparation time is about 20 minutes, and then you’ll need to let them chill for at least 4 hours.
Q: Can I substitute the cream cheese for a vegan option?
A: Yes! You can use vegan cream cheese as a substitute for a dairy-free version.
Q: How far in advance can I make these?
A: You can make them up to 5 days in advance as long as you store them properly in the fridge.
Now, it’s time for you to take the plunge and make these No-Bake Biscoff Cheesecake Bars! With their delightful mix of flavors and textures, they’re sure to become a staple in your dessert rotation. Happy baking—or, rather, mixing!

No-Bake Biscoff Cheesecake Bars
Ingredients
Method
- Crush the Biscoff cookies in a food processor until you achieve fine crumbs.
- Combine the crushed cookies with melted butter until they are well blended.
- Press this mixture firmly into the bottom of a lined baking dish to form the crust.
- In a mixing bowl, beat the softened cream cheese and powdered sugar until creamy and smooth.
- In another bowl, whip the heavy cream until stiff peaks form. Gently fold this whipped cream into the cream cheese mixture until fully incorporated.
- Spread the cream cheese filling over the crust evenly, making sure to reach the corners.
- Drizzle Biscoff spread generously on top, creating beautiful swirls if you're feeling artistic.
- Refrigerate for at least 4 hours, or until the bars are set nicely.
- Cut into squares or bars and serve chilled.


